Gallery
»
WaterHistory.org
»
Hatch
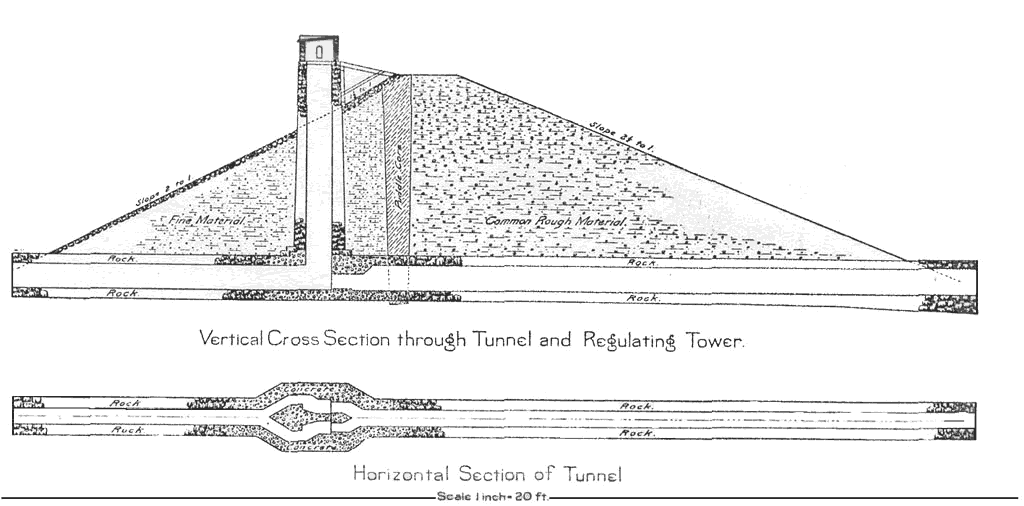
» Cross section (through the tunnel and regulating tower) of the…
Photo 7 of 7 |
« Previous
|
Back to Hatch
Full size image
Cross section (through the tunnel and regulating tower) of the Hatchtown Dam as designed.
Photo 7 of 7 |
« Previous
|
Back to Hatch
Quick Links
»
Travel Info
»
Teaching Aids
Programming and Design by
Moki Systems, a Utah Ruby on Rails consultancy
with content provided by USBR
Provo Area Office
.
Accu-tech Auto
Wisp-router.com